Upload a file module (video, audio, PDF, SCORM, xAPI). Video closed captioning. CenarioVR modules. Edit existing file modules. Copying a file. Replacing media in a file. Previewing a file module.
April 4, 2022
Uploading a File to My Library
Note: Acceptable file types include .mp4, .mov, .mp3, .PDF, xAPI (TIN CAN), SCORM, and CenarioVR SCORM. The file size limit is 1GB.
Step 1: Add New
Navigate to the “Content” tab on the Admin Portal. On the right-hand side of the "Content" tab, you will be able to organize, upload, and edit your media. Select the "Add new" button, and then select “File” from the dropdown.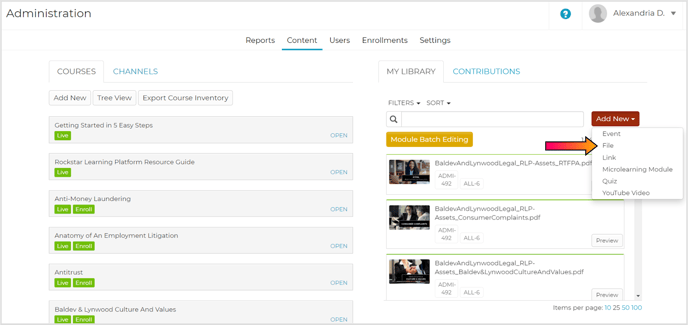
Step 2: Choose a File
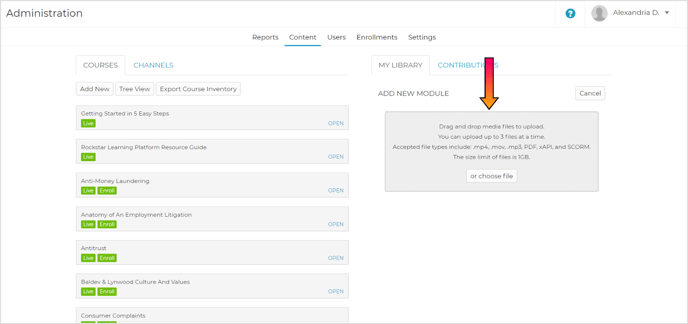
Choose a file on your computer or drag and drop a file into the gray upload box. You can upload up to 3 files at a time.
Step 3: Add Module Details
If you uploaded a single file, you will be brought to the file details screen. Fill out the relevant fields before publishing the file.
Note: If you upload more than 1 file, the file details fields below will not appear. After the modules are done uploading you will have to go back and edit them individually to add information to these fields.
Caution: Though the learner group field is not required, the module must be assigned to a learner group (see Creating, Assigning, and Removing Learner Groups) to appear on the User Page.
Related: For information on how to fill out the general fields on the Details page, visit What are the Fields in the Module Upload Details Pages? For file-specific fields, continue reading.
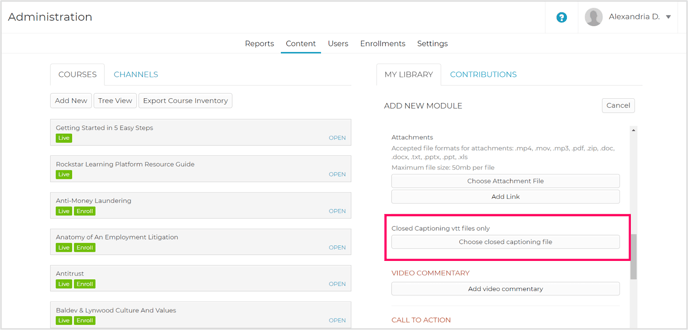
Closed Captioning: This field will only appear for video files. Upload a VTT file using the "Choose closed captioning file" button.
Video Commentary: Administrators can either add comments to videos directly in the platform or upload comments using an Excel template. These comments will appear in sync with video timestamps.
Note: Video Commentary must be added to the video module that has already been created; you must add them by editing an existing module rather than when you first create the video module.
Related: For more information on how to add video commentary, visit Add Timestamped Commentary to Video Modules.
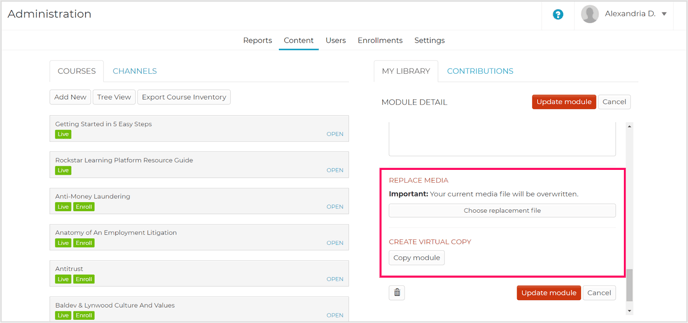
Replace Media: The "Choose replacement file" button can replace media with an updated version. This will replace the media but will keep all the data in the fields. Replacing media will not affect reporting for users that have already taken the module.
Virtual Copy: To create a copy of your module without having to re-upload the media, click the "Copy module" button to create a virtual copy. You can choose to include the attachments and video commentary from the original module.
Caution: If you include the attachments and video commentary in the virtual copy, you will not be able to edit/remove them on the virtual copy.
Note: You cannot make a virtual copy of SCORM, xAPI, Quiz, Events, and CenarioVR files.
CenarioVR: CenarioVR files can be uploaded as a file in the Rockstar Learning Platform. Though xAPI-published CenarioVR files will run smoothly on the platform, SCORM-published CenarioVR files will automatically display CenarioVR icons and thumbnails across the platform (course page, module page, reports, etc.).
Note: You can still add a thumbnail image for CenarioVR courses if you wish.

Step 4: Add Module
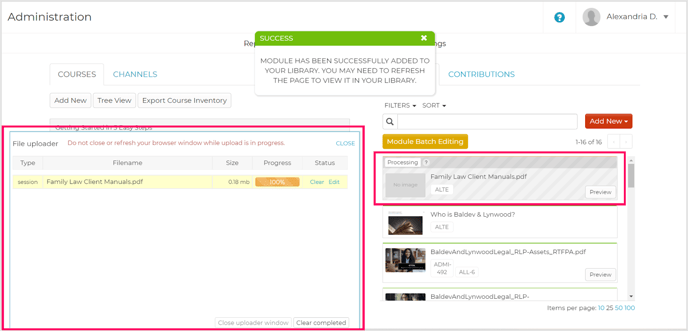
When you have filled out all of the necessary fields, click the "Add new module" button. This will upload the module to the Rockstar Learning Platform. A progress bar will appear at the bottom of the screen showing you when your module has been uploaded into the platform. After the file has been uploaded, it may take time to process before it can be edited or used in a course.
Note: If you do not see your newly uploaded file in your library, refresh the page. Even after a file has been uploaded, it may still need time to process before it can be edited or used in a course.
Step 5: Preview
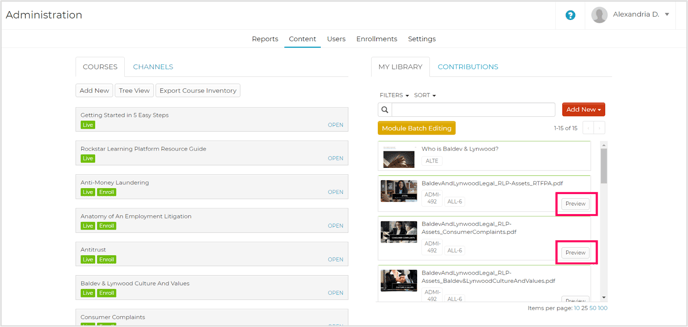
If you wish to preview a published module, locate the module in the “My Library” tab. Select the “Preview” button and the module will open in a new tab or a modal window.
Note: Only video, audio, SCORM (including SCORM-Published CenarioVR) PDF, link, and YouTube modules can be previewed.
Editing Module Files
Find the module you want to edit in the module list on the right-hand side of the content tab. Click on the title of the module and then select the red "Edit" button. You will be able to edit all of the fields mentioned above. Click the red "Update module" button to save your changes.