“Add New” module and fill out module Details: title, thumbnail, “open in new tab”, learner activity, presenter, tags, learner groups, description, “call to action”, attachments, publish information, Facebook commenting, and internal notes.
Jan 25, 2023
Add New Module
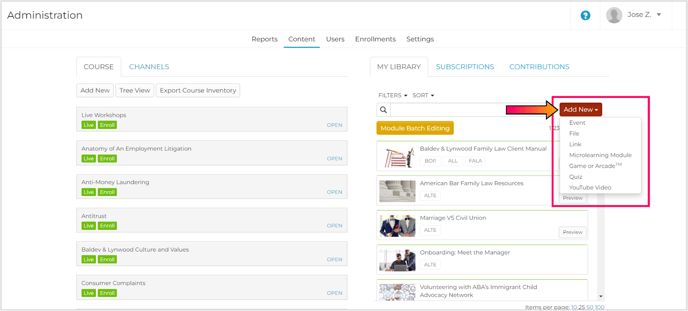
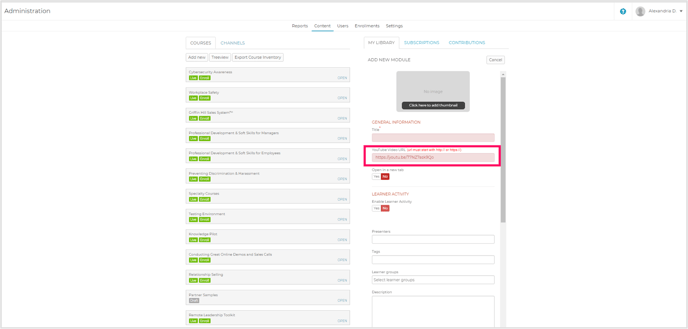
Navigate to the “Content” tab of the Admin portal. Select the red “Add New” button, and then select the module type you wish to add.
Related: This article discusses how to fill out module Details relevant to all or most module types. For more information on specific module types, visit their relevant knowledge base article:
Filling Out the Module Details Page
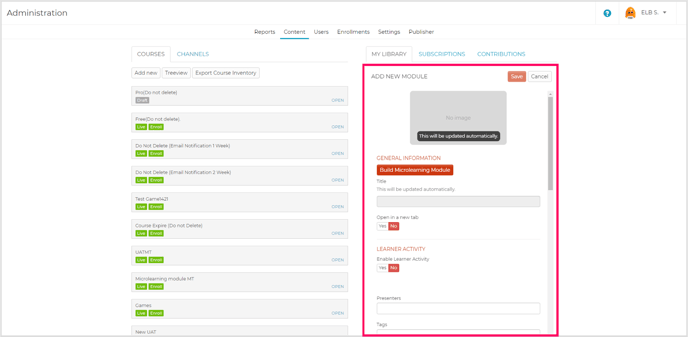
Whenever you upload a new module (i.e. an event, file, link, microlearning module, game or Arcade™, Rehearsal Activity, Quiz, CenarioVR, or YouTube video) into the Rockstar Learning Platform, you will be prompted to fill out the Details page for the module. This page is used to provide users with information about the module, connect the module to learner groups, add social learning or learner activities, and otherwise customize the module within the Rockstar Learning Platform interface.
Related: This article discusses how to edit the Module Details page. For more information about the module details page visit Understanding the Module Details Page.
General Fields
While each type of module has a slightly different Details page, these are the common fields found in most modules. For Module-specific fields, visit the relevant article on Uploading and Editing that specific module type.
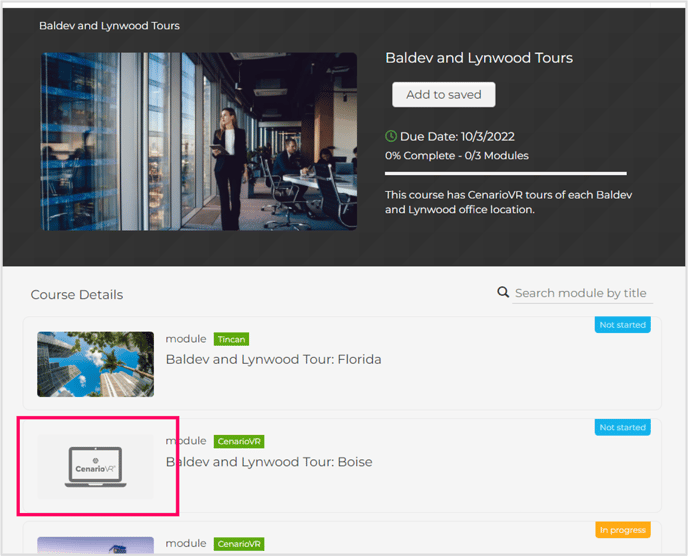
Thumbnail Image: This image will appear on the module’s title card. To add an image, upload a .JPG, .JPEG, .PNG, or .GIF file that is smaller than 5MB with dimensions larger than 864x486 pixels.
Note: If the file is a video file, you can choose a pre-rendered thumbnail image. Pre-rendered thumbnails are automatically generated from random spots in the video.
Note: If a .GIF file is uploaded, the thumbnail will be a still image from the beginning of the .GIF.
Note: If the image proportions are not correct, the image may be cropped to fit the thumbnail.
Note: If the file is a CenarioVR file, a CenarioVR thumbnail image will appear while the module is loading.
Title: This is the only field mandatory for all uploads. The title will appear to your users on the front end of your platform.
Links: Though not every file upload has a field for a URL or link, many of them do. If a URL is required, the box will be red and have an asterisk on the field title. These links must start with “http://” or “https://”.
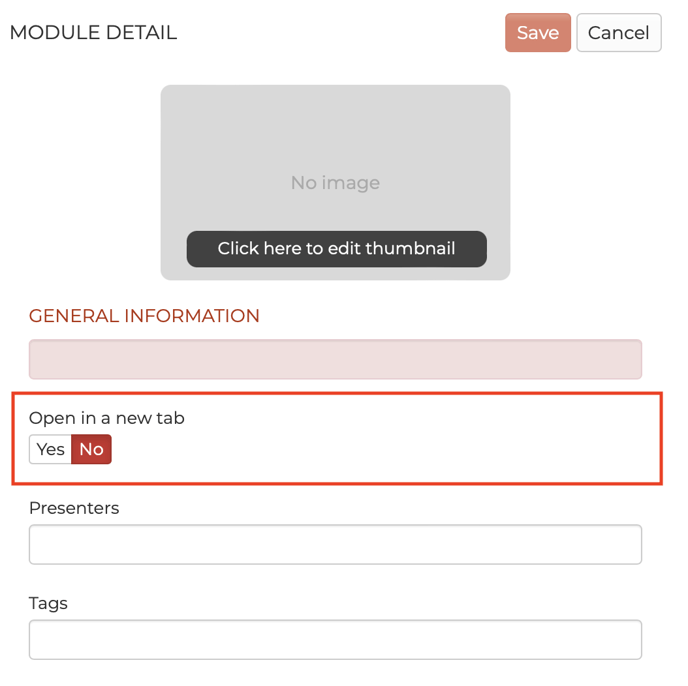
Open in New Tab: Toggle this option “Yes” to allow users to open a file in a new tab. Users simply select a thumbnail on the User Module Page to open the module in a new tab.
Note: The option to open a file in a new tab is only for SCORM files, microlearning modules, YouTube links, and other link uploads. All other file types will be opened on the module page.
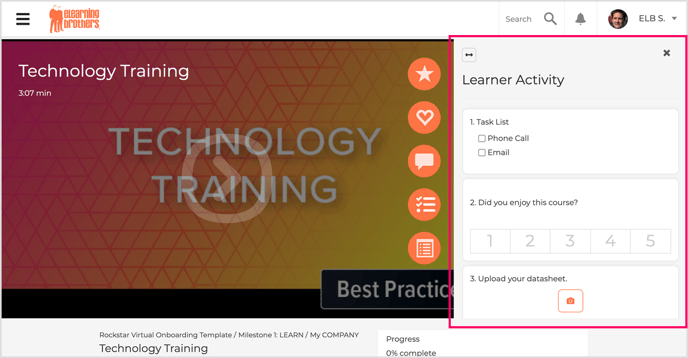
Learner Activity: Add activities such as media upload requests, multiple-choice questions, task lists, and more to your modules. Users will be required to complete the module and the learner activities in order to receive completion for the modules. To learn more, visit our Learner Activity article.
Note: Learner activities are available for all module types except SCORM, xAPI, and quizzes.
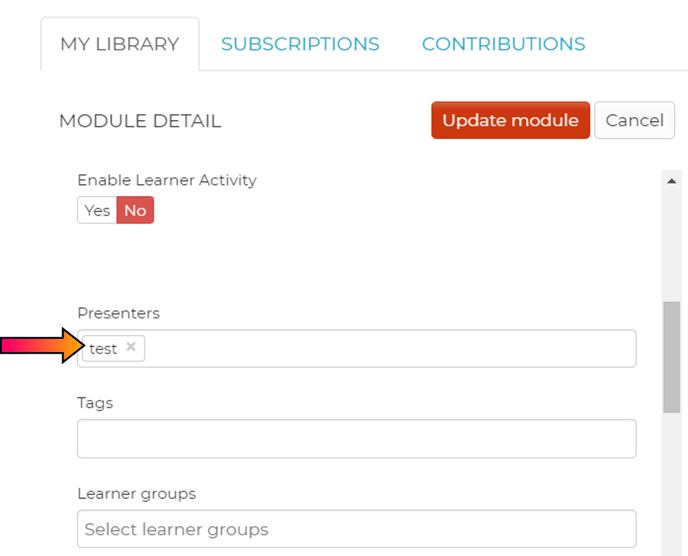
Presenters: Type in the presenter name you want to add to the module. Press enter to confirm the presenter.
Note: Your users will be able to search by a presenter using the search bar on the Users Page.
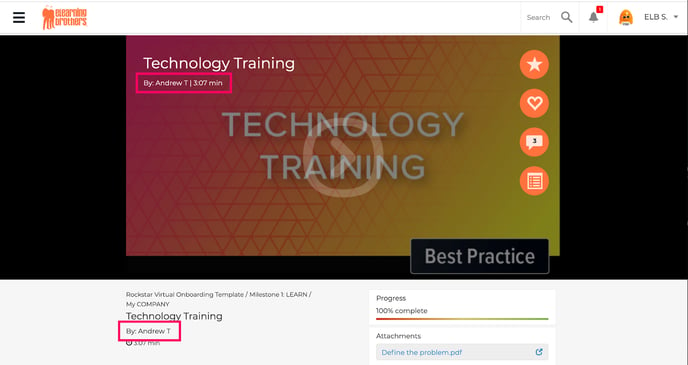
Caution: Be sure to hit enter after typing in the presenter details. Otherwise, your input will not be saved. To verify the presenter has been saved, a box will appear around saved presenter names.
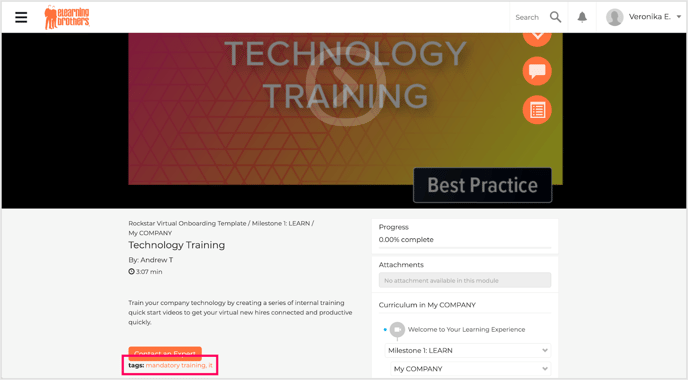
Tags: Type in the tag you want to add to the module. Press enter to confirm, and a box will appear around the new tag.
Note: Your users will be able to search by tags using the search bar on the Users Page. You can also view reporting data on completed modules by tag (See Media Reports).
Learner Groups: Click in the "Learner groups" field to display a list of all your available learner groups. You can assign a module to multiple learner groups depending on how you set up your courses (See Learner Groups).
Caution: Your module must be assigned to a learner group to appear on the User Page of your site.
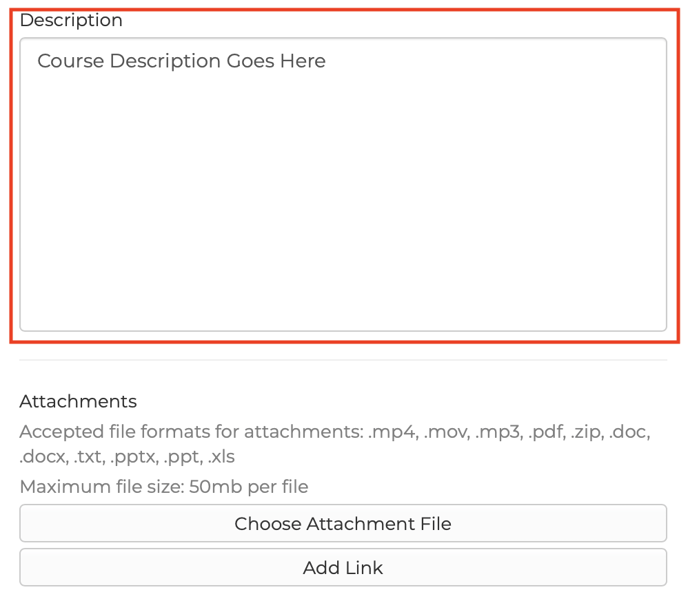
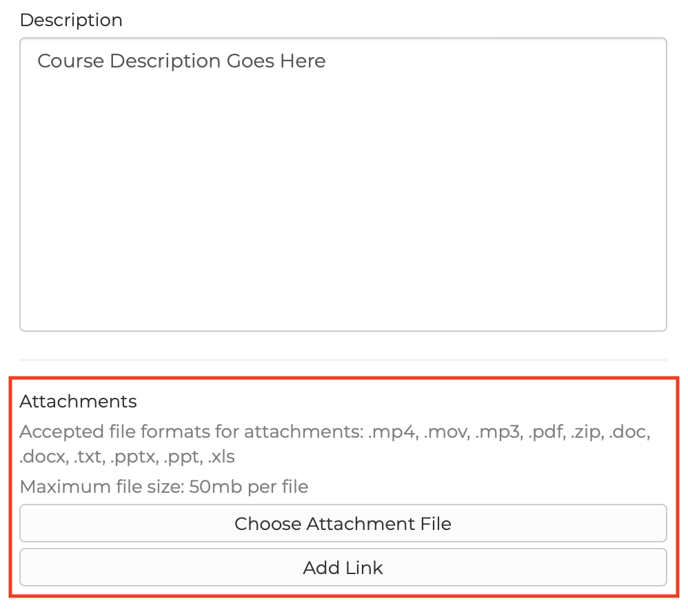
Description: Add a module description for your users to view on the front end of your platform.
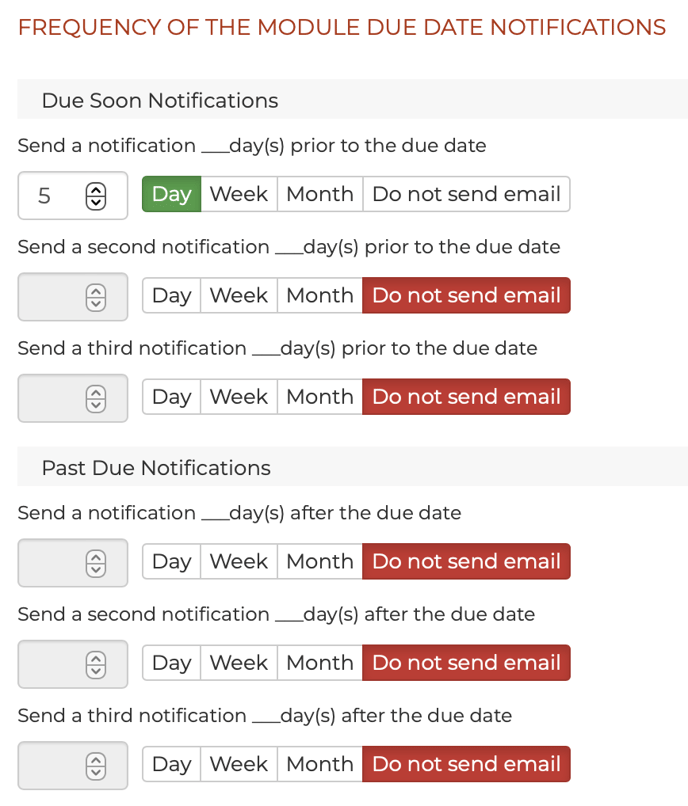
Frequency of The Module Due Date Notifications: Add Due Soon and/or Past Due Notifications to a Module by selecting the Day, Week, or Month and providing a number.
Caution: Using this for a Module will overwrite the "Frequency of All Module Due Date Notifications" setting located in the Account Settings of your Platform. This will only affect the Module being edited, however. All other Modules without this set will adhere to the Account Settings. The article for Account Settings can be found here.
Call to Action Button: Toggle this section to "Yes" to enable a call to action button in the description of your module. Add the button color, text, and link.
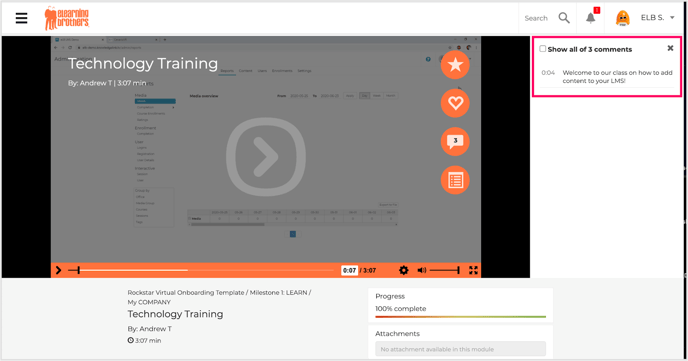
Video Commentary: Click on the "Add Video Commentary" button and play the video. The video will automatically stop when you begin typing to add a comment. Click the "Done" button when you have finished updating the module.
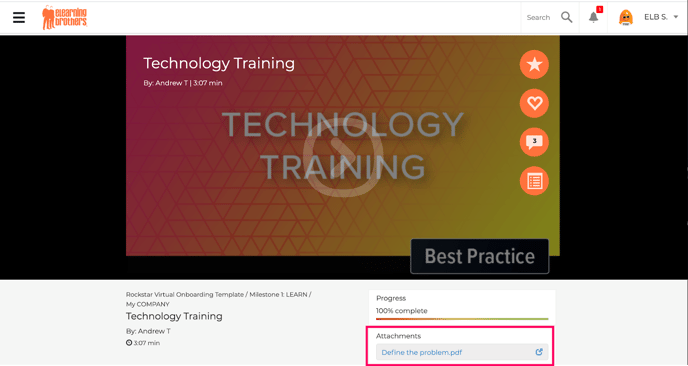
Attachments: Choose either the "Choose attachment file" or "Add link" buttons.
Note: Attachment acceptable file types include .mp4, .mov, .mp3, PDF, zip, Word, PPT, and Excel.
Whereas module acceptable file types include .mp4, .mov, .mp3, .PDF, xAPI (TIN CAN), and SCORM
Facebook Commenting: Toggle "Yes" under Facebook Comments to enable this feature. Users will be able to add their comments and see other users' comments below the module. To set up Facebook Commenting, see the Account Settings article.
Note: This feature will not post comments on Facebook, only on the Rockstar Learning Platform.

Publish Information: Select "Yes" under Publish Information to publish this module. To save the module as a draft, select "No".
Expire Module: You can choose a date to expire the module. When a module expires, it will become "drafted", meaning it would no longer be viewable on the Users Page. To republish an expired module, edit the module, set the publish toggle to “yes”, and update the module.
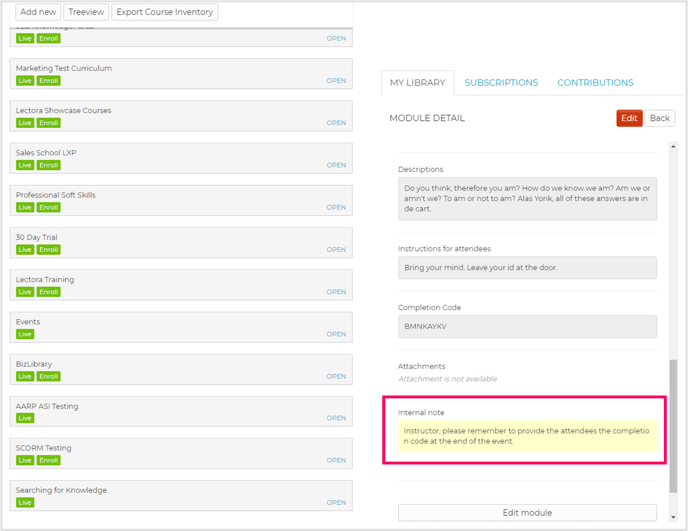
Internal Note: Add internal admin notes to a module. These notes will not appear on the Users Page.