How to create an event, upload it to the platform, and edit in-person and virtual events. Enrolling users in Events. Marking Events “completed/attended”. Events from a User perspective. Event reporting.
January 10, 2022
Creating an Event
Adding an event to your platform will allow users to register for in-person and virtual events. After the user attends the event and submits the completion code, the module will be marked as attended in the platform so the user can receive credit for attending.
Note: To turn on the events calendar on the user dashboard, navigate to the settings tab in the Admin Page. Click on the Enterprise tab and then choose your enterprise from the drop down. Scroll down the page until you see the Events Toggle. Turn the toggle on and save the changes.
Related: To learn how to RSVP for an event or cancel an RSVP, visit Admin RSVP Users for Events and Cancel Users RSVPs and How do Users RSVP or Cancel Their RSVP for an Event Module?
Step 1: Add New Event
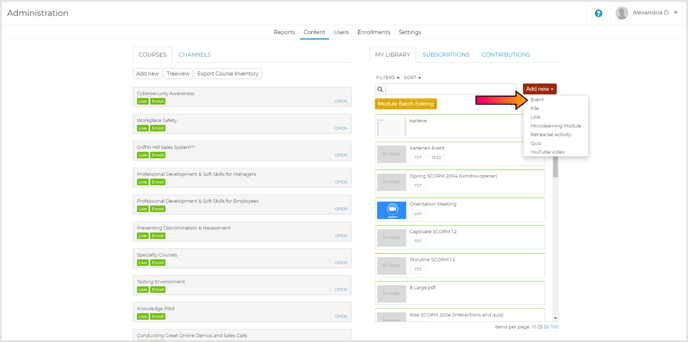
Navigate to the Content tab of the Admin portal. Click on the "Add new" button. Choose the "Event" button from the "Add New" drop-down to create an event as a module.
Step 2: Fill Out Details Page
You will be brought to the event details page. A list of different fields will appear for you to fill out.
Caution: Though the learner group field is not required, the module must be assigned to a learner group to appear on the user page.
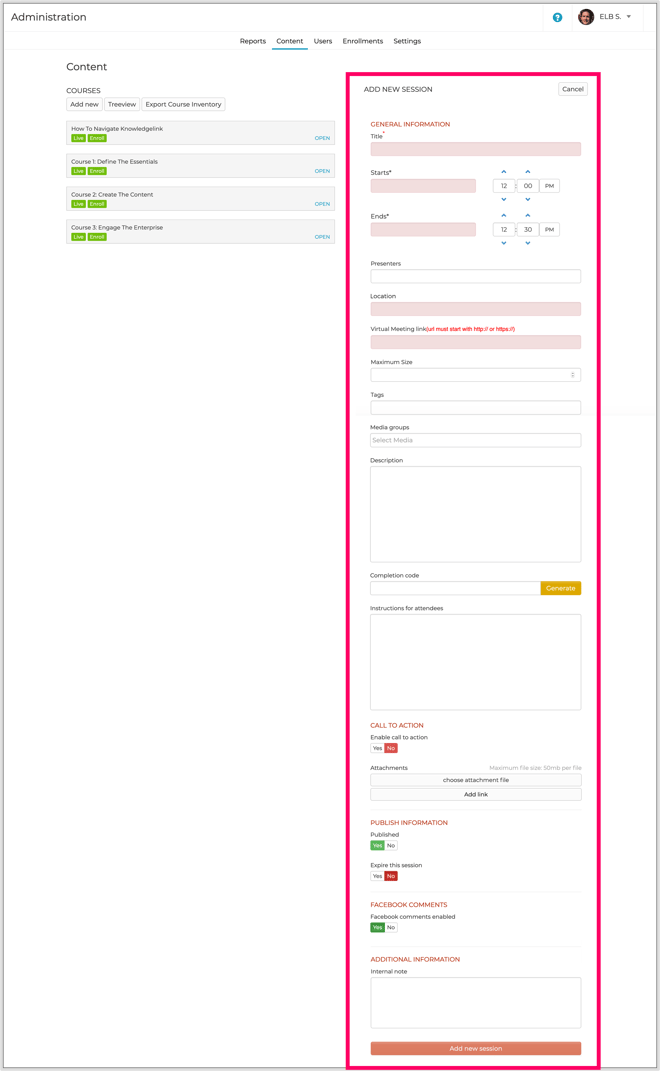
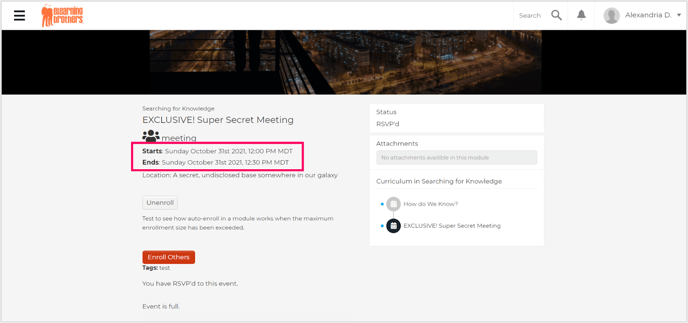
Start/End Times: The start and end times of your event are required fields for Event modules. The time zone is based on the time zone of your computer. The event start and end date will be listed in the module description area below the event thumbnail.
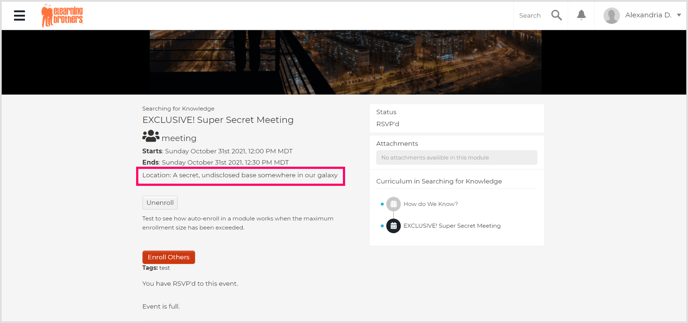
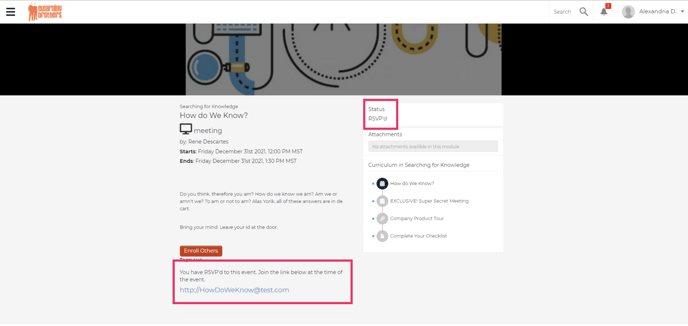
Event Location: The location (for in-person events) or the link (for virtual meetings) will appear after a user clicks the RSVP button in the description area. The user's status on this module will change to RSVP'd.
Virtual Meeting Link: Add the link to your virtual meeting here. This can be a zoom link, GoToMeeting link, etc. This link will appear to your users on the module page after they RSVP for the event.
Note: Either the Virtual Meeting Link or the Location are required; however, once you fill out one of the fields, the other one will no longer be required.
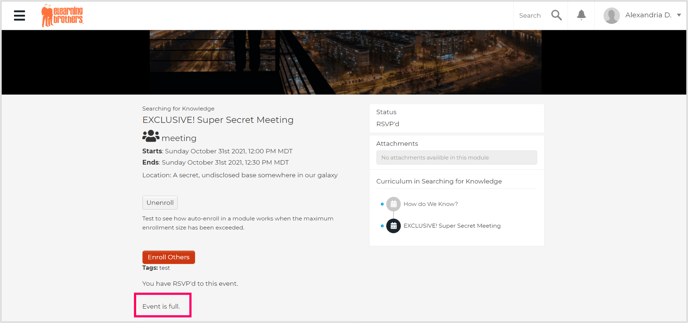
Maximum Size: This is the maximum number of people who can register for the event.
Note: If the maximum size for an Event module has been reached, additional users cannot be enrolled in the module. Users can still be enrolled in the course with the full Event, but they will not be able to RSVP for the Event.
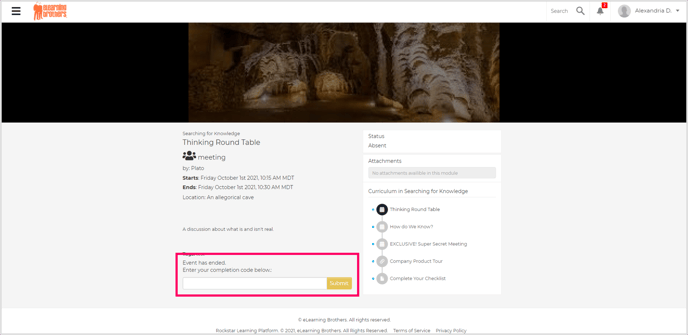
Completion Code: Completion codes can be used for in-person or virtual events. The presenter can give the users a completion code to enter into the system so they can receive credit for attending. Once the event starts, a field to enter to code will appear in the module description.
Note: Admins can also manually mark users as “attended” in the Reporting section of the admin portal.
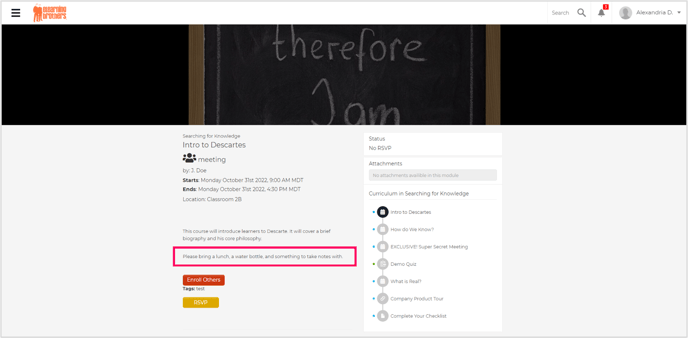
Instructions for Attendees: Admins can add additional instructions such as what they need to bring for the event or directions on how to get to the event. These instructions are only visible to users who have RSVP'd for the event.
Related: For more information on the general fields on the Details page, visit What are the Fields in the Module Upload Details Pages?
Step 3: Confirm Addition
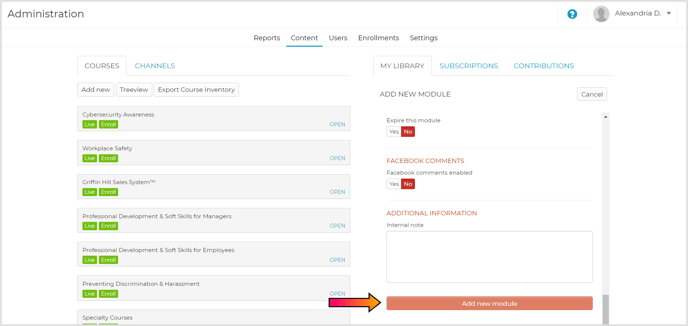
When you have filled out all of the necessary fields, click the "Add new module" button. This will upload the module to the Rockstar Learning Platform.
Editing an Event
Find the Event Module you want to edit in the module list on the Content tab of the Admin portal. Click on the title of the module and then select the red "Edit" button. Click the red "Update Module" button to save your changes.
Note: You will be able to edit all of the fields mentioned above; however, you will not be able to update the start and end dates after the event has started.
User RSVP in Events
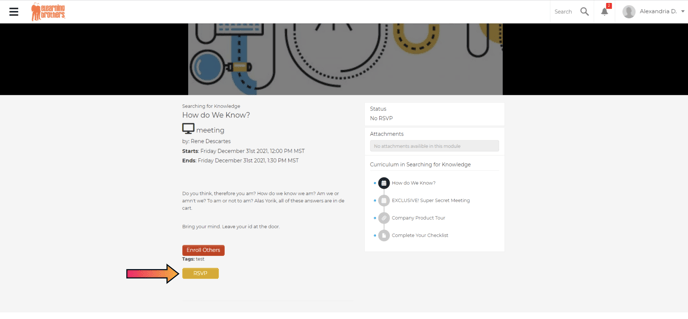
There will be an RSVP button the user can click on to confirm they are attending the event.
Note: If an admin enrolls the user into an Event module, the user will automatically be RSVPd to the Event as long as the maximum number of registrants has not been reached. However, users will not be automatically RSVPd if the user is enrolled in a course with an event module.
The location (for in-person events) or the link (for virtual meetings) will appear in the description area. The user's status on this module will change to RSVP'd.
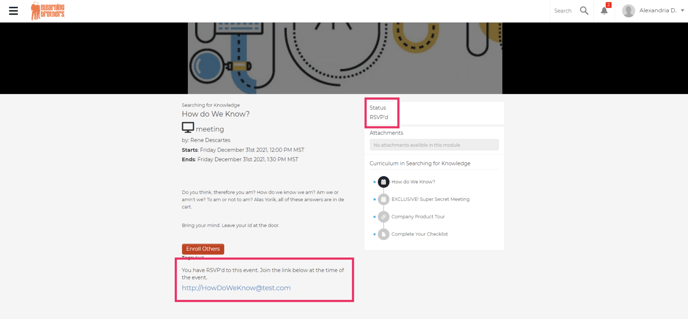
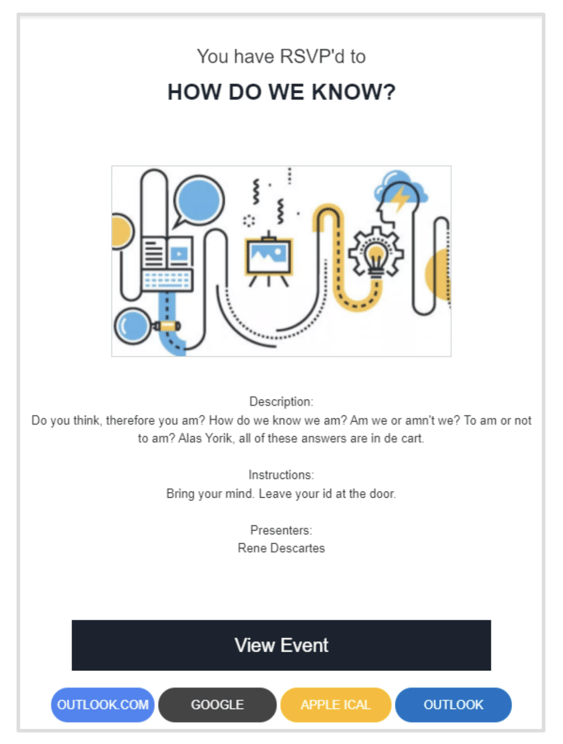
The user will also receive an email with the event details included and the ability to add this event to their calendar (Google, iCal, Outlook, Outlook.com).
Tracking Event Attendance
After the in-person or virtual event occurs, users can be marked as "Attended" in two ways:
- Admins mark the user as "Attended" in the reporting tab (visit the Events Reporting article to learn more).
- Admins create a completion code in the Event Details page in the Content tab of the Admin portal. After the presenter provides the attendees with the completion code, they can enter this code in the completion code field that will appear in the module details once the event starts.
Note: The user’s status will be listed as "Absent" until the code is entered or the admin marks the user as attended in the reporting tab. Once this happens, the user’s status will be displayed as “Attended”.

Events Reporting
All events created in the Rockstar Learning Platform send reporting data directly to the reporting tab in the Admin of the Rockstar Learning Platform. To learn more about events reporting you can view the Events Reports article.