- ELB Learning Knowledge Base
- Lectora®
- Importing Content
-
Lectora®
- Quick Win Tutorials
- Getting Started
- Modular Development (ModDev)
- Quick Guides
- Best Practices
- Navigating the Workplace
- Building a Title
- Importing Content
- Working With Text
- Working with Images
- Working With Objects
- Actions and Variables
- Tests, Surveys, and Questions
- Working with Web Windows or HTML Extensions
- Publishing a Title
- Creating Web-based, Accessible Content (Section 508/WCAG)
- Lectora Layouts
- Managing Titles
- Managing your Assignments
- Managing Your Notifications
- Communicating
- Admin Guide
- Lectora Player Skins
- Lectora Interactions and Scenarios
- Games
- Misc.
- Programming
- General
- Using Tracking for Progress, Status, etc
- Working with BranchTrack
- Trouble Shooting
- Working with Audio and Video
-
CenarioVR®
-
MicroBuilder™
-
The Training Arcade®
-
Asset Libraries
-
Rockstar Learning Platform
-
Rehearsal
-
Off-the-Shelf Training
-
ReviewLink®
-
The Learning Creation Studio
-
CourseMill®
-
General Topics
-
xAPI
-
Template Styles
-
Misc.
-
Articulate Storyline
-
Customizable Courseware
-
Course Starters
-
Camtasia
-
Group Administration
-
General
-
Can't find the answer? Ask our Customer Solutions team.
Placing your CenarioVR Output in Lectora Desktop and Lectora Online
It is possible to place your CenarioVR output into an external source such as a web page or course. Let’s take a look at placing your CenarioVR Output in Lectora Desktop or Lectora Online.
From CenarioVR
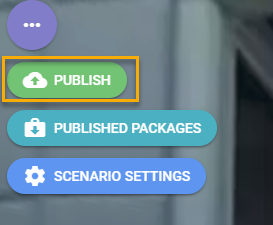
To begin select Scenario Settings and Publish then Publish.
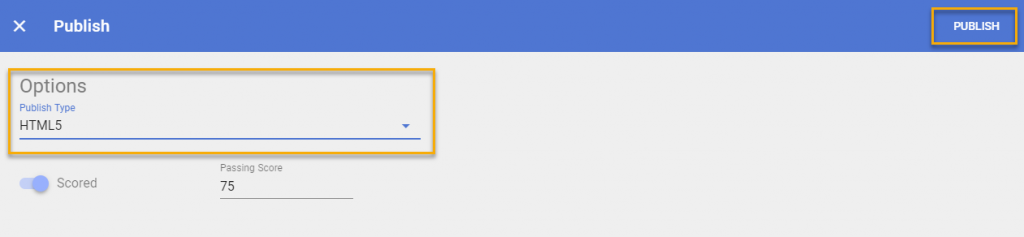
Choose HTML5.and Publish.
From the packages menu, select the option to download.

From your computer
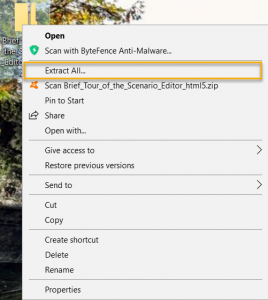
Locate the file and unzip it.
Rename the Index.html page (we suggest the name of our scenario).

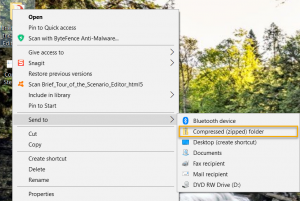
Rezip the file.
From Lectora Online
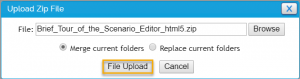
Open the file you wish to work on and navigate to the Insert ribbon and choose Attachment>Folder (zipped).
Browse for the file and then select File Upload.
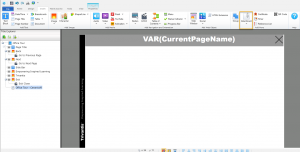
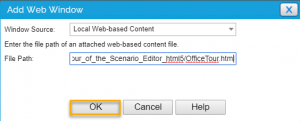
Again from Insert add a Web Window.
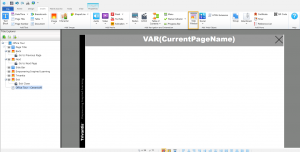
From the Window Source drop-down select Local Web-based content, for the file path enter in the name of your zipped folder/name of your first page of the course (the renamed index.html) then select Ok.
Place then web window and view it in Page Preview test.
From Lectora Desktop
Open the Insert menu and click on the CenarioVR icon.

Locate and select the downloaded .zip file, then press OK
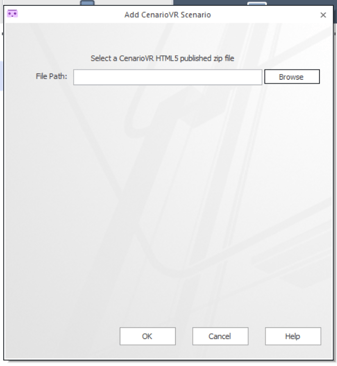
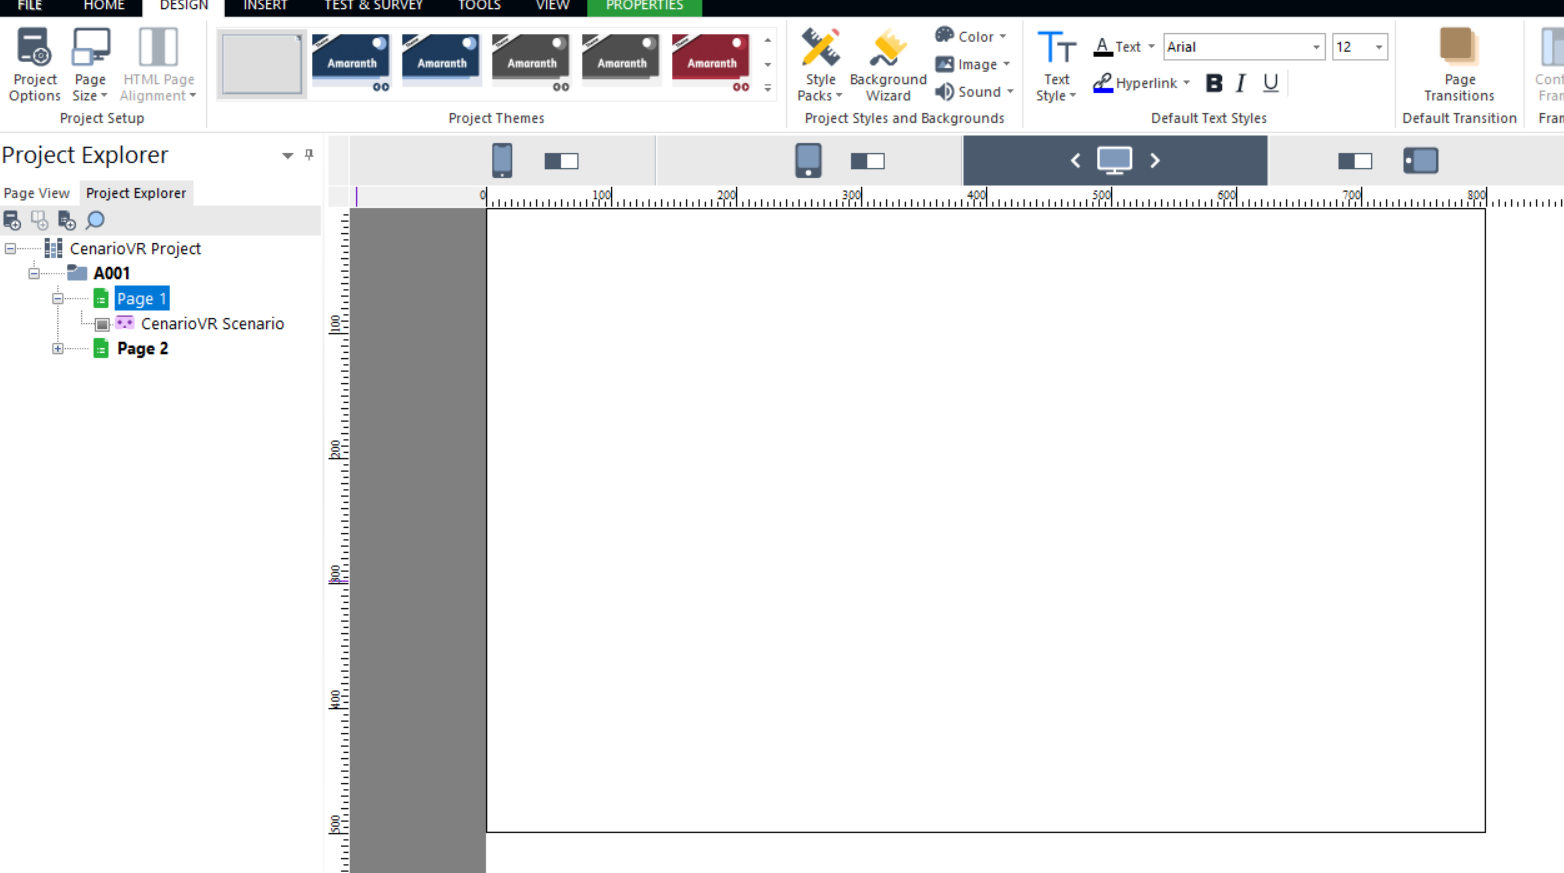
The CenarioVR object will show in the Project Explorer and in the canvas area as a blank object. You may resize this as needed.
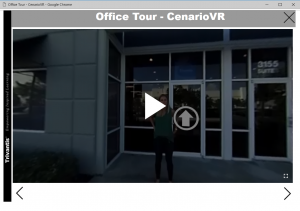
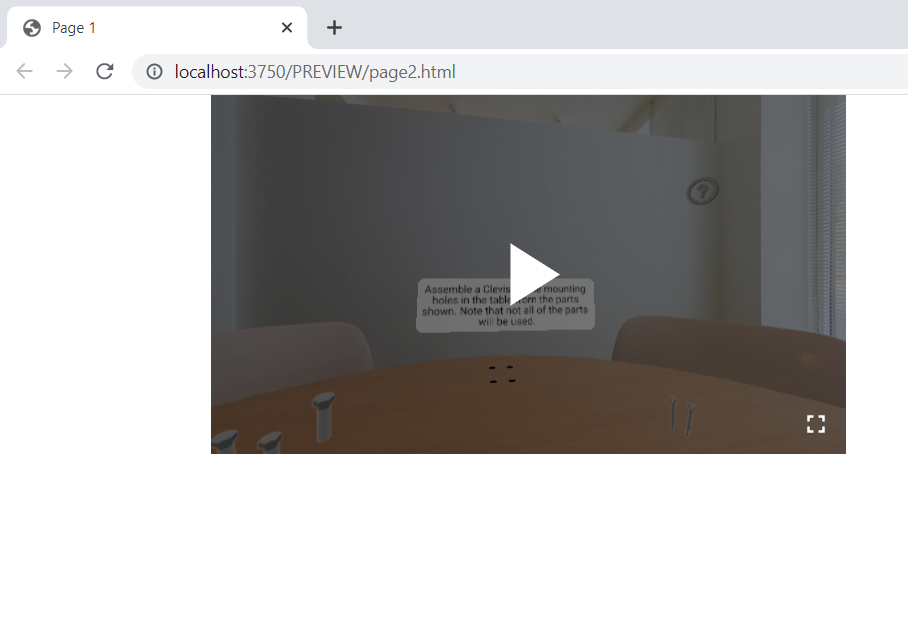
CenarioVR objects will not display in Run mode. Please use Page Preview or Preview in Browser to review.
Read more about communicating between CenarioVR and other content
This article was last reviewed in November 2021. The software may have changed since the last review.