In this How To, you will learn: How to add a title and content to each slide, add or take away buttons/pages, and change button states. These are slide-to-slide templates so there will be no actual buttons and content will be viewed in sequential order.
Covers Click-to-Reveals, Pyramids, Timelines, and Process Flows.
- Pick a style from the PowerPoint Library.
- Download the files you want to use.
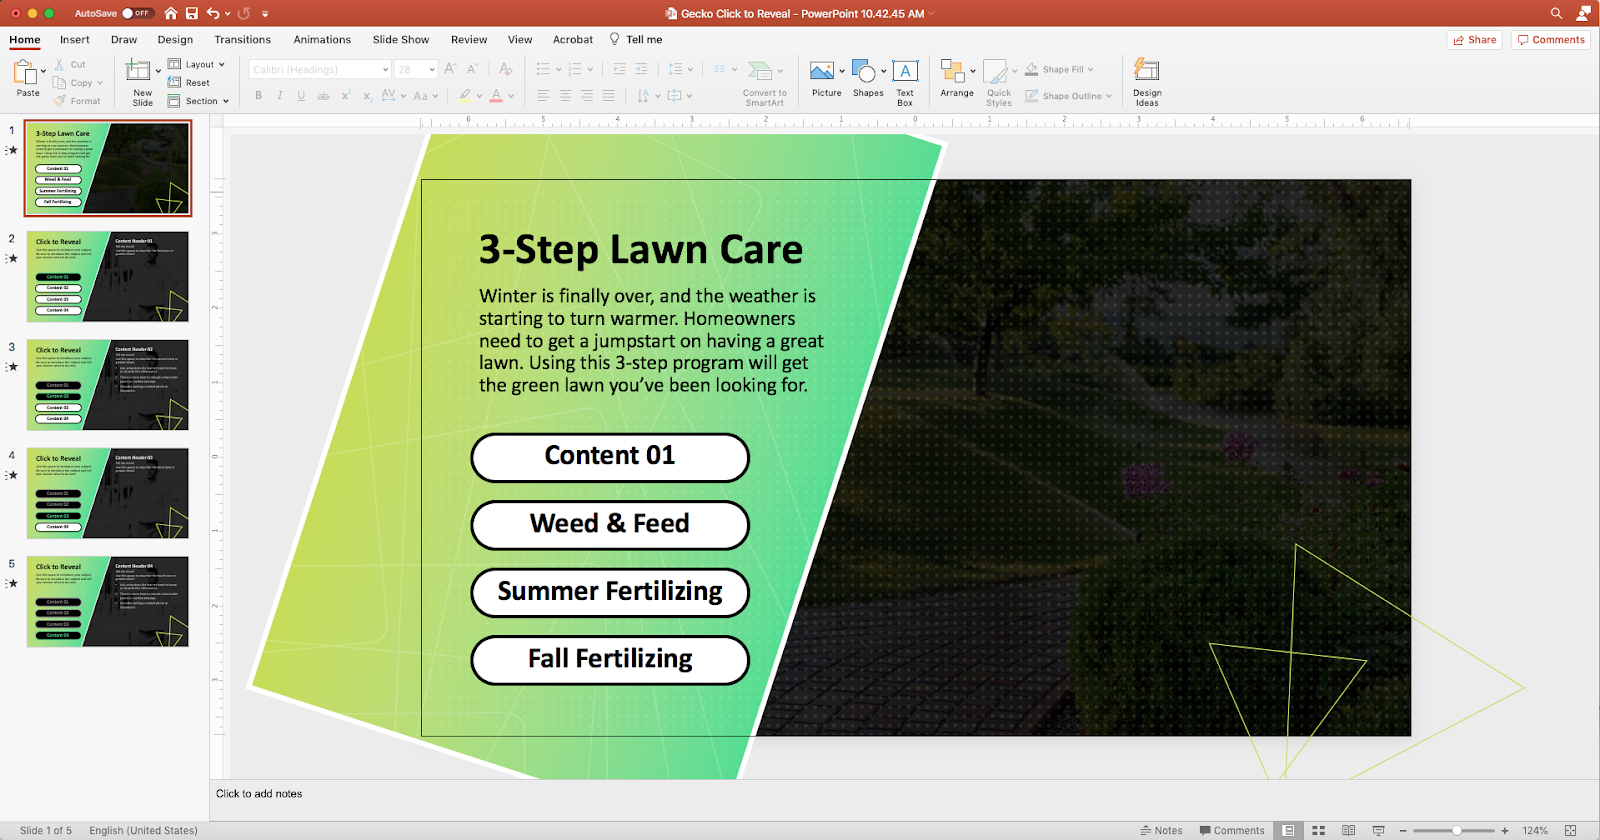
Click-to-Reveal interactions include, Click-to-Reveals, Pyramids, Timelines, and Process Flows. All of these interactions are based on click-to-reveal and the editing process will be the same. - Open the file in PowerPoint.
If you are adding these slides to another file follow these steps here ». - Add your content to the slides by clicking on the text box, highlighting the copy and typing in or pasting your own.
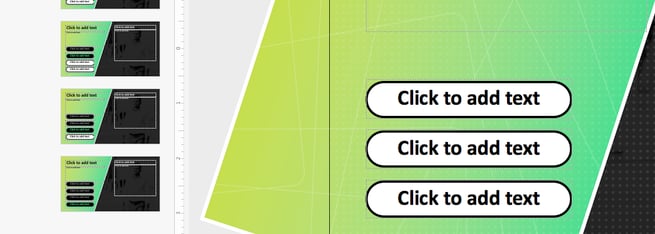
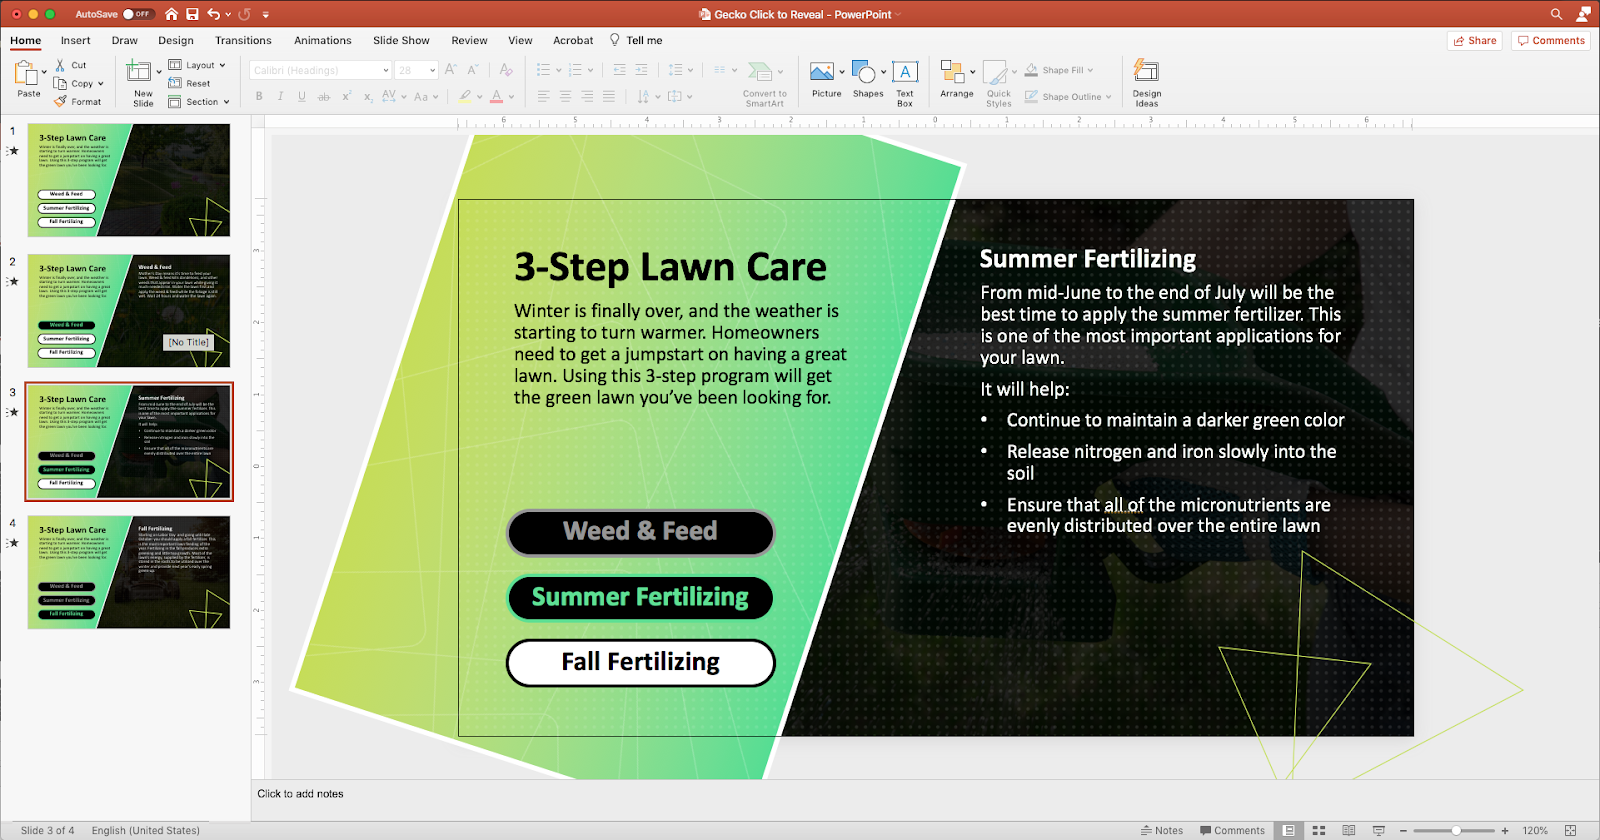
In normal view mode you can select and edit all of the text fields on each of the slides. - Add or delete slides and buttons to match the number of sections you use.
In this example, only 3 of the 4 buttons and 4 total slides are needed. To delete the buttons you will need to go into the master slide view. To enter the master slide view click on the “View” tab, then go to “Master” › “Slide Master”.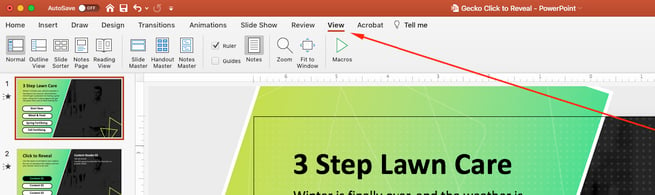
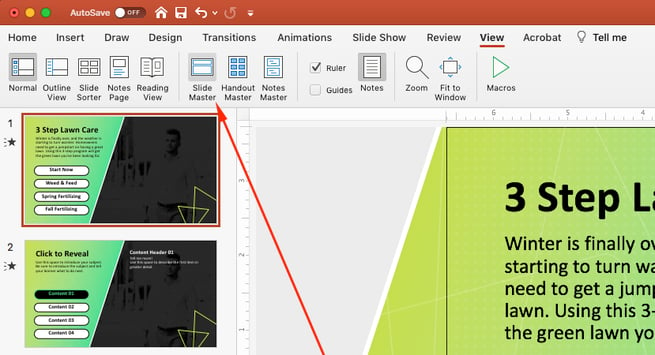
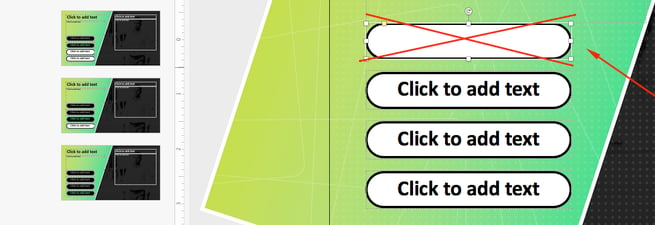
OR hold Shift and click on the Normal slide view icon (for PC) or Option + ⌘ + 1 (for Mac).Once you are in the slide master view you will be able to select and edit or delete the buttons, images, text fields and master slides. To delete a button simply select the button shape (while in the master slide view) and hit the Delete key on your keyboard.
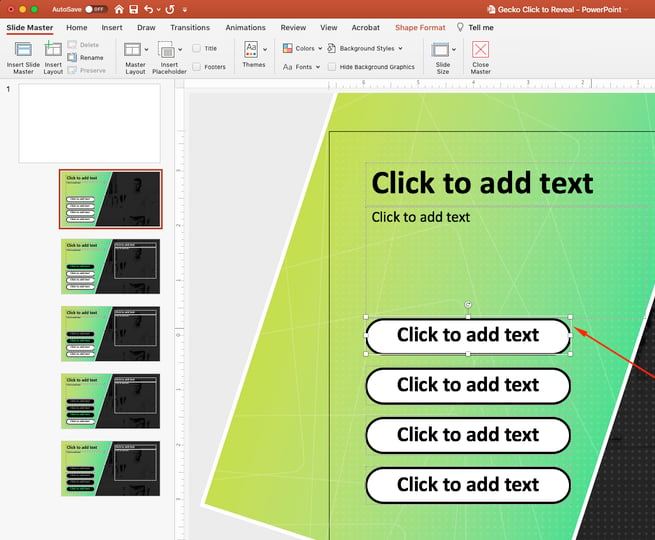
Now you can edit button states by selecting and changing the button and text colors as well as adding images that match the content of your presentation. Change images by simply clicking the image and deleting it by hitting the delete button on the keyboard. Add a new image by dropping the image from your computer folder into the slide. Resize and crop the image to fit the space. Crop the image by selecting it and right clicking. Select “Crop” in the drop-down menu and drag the selection points to resize.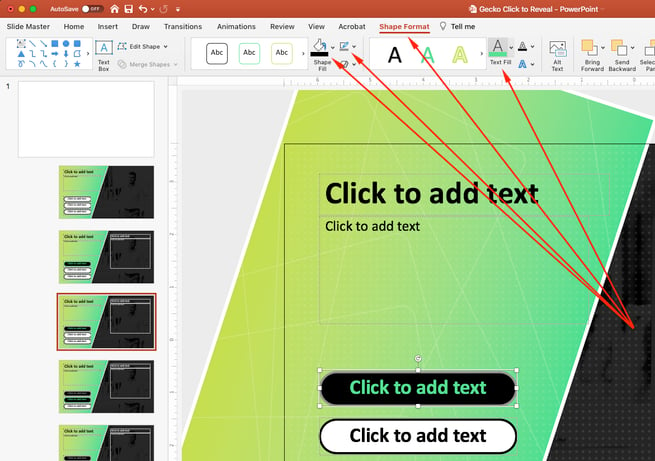
You can also delete any unused or unneeded master slides while still inside the master slide view by selecting the slide thumbnail on the left and pressing the delete button on the keyboard.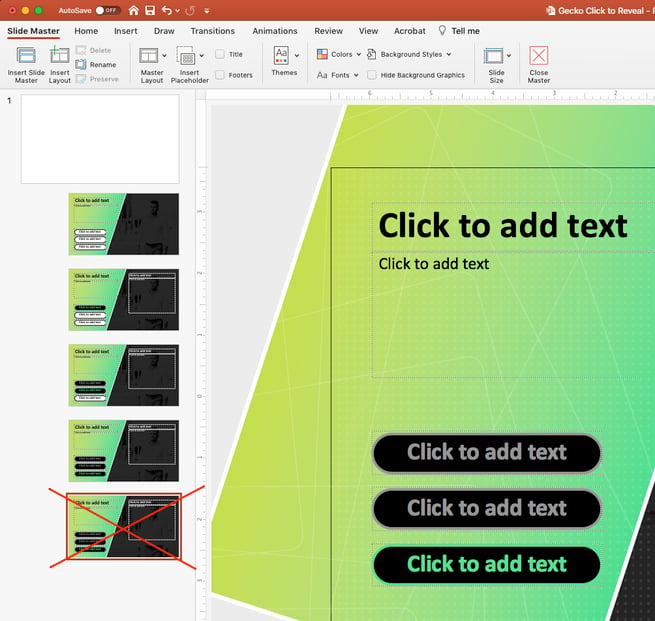
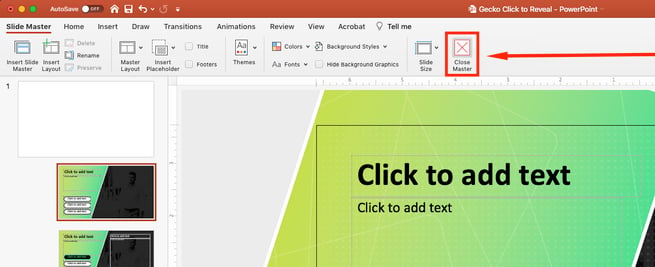
IMPORTANT NOTE: It’s always a good practice to keep your master slides properly named well organized. This will make assigning layouts to the slides in normal view easier. - Once you have made all the changes you’d like; close the master slides by clicking on this “Close Master / X” button.
IMPORTANT NOTE: if it doesn’t look like the changes you have made the master slides have automatically updated/applied to your slides in the filmstrip view; you will need to re-apply those layout slides to your slides.
Select the slide that needs to be updated and then navigate to the Home Ribbon and click the Layout dropdown and select the same layout for that slide.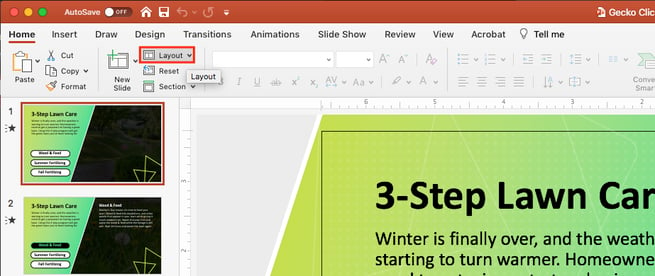
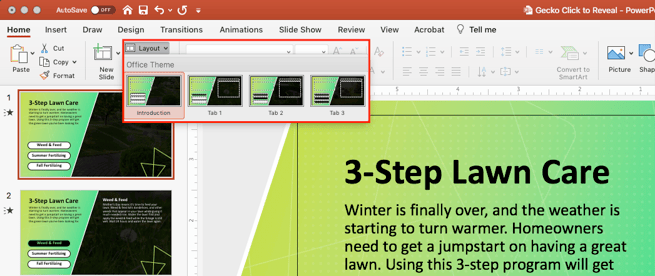
If this still does not work, select a different layout first then select the one you wanted originally. - Save your presentation and review your slide content (making sure all the placeholder text has been updated).
Repeat the steps above until your presentation is complete.


Pro Tip: Go back through your course/presentation in “presentation mode” to check that all your slides are in order, animations are working, and any edits that you made are working properly.
